


4 min read How to Build a PC - A Basic Checklist Guide
1. Define Your Purpose and Budget:
Before embarking on the PC-building journey, clearly define what you want the PC to do. Are you building a gaming rig, a content creation powerhouse, or a general-purpose workhorse? Set a budget to guide your component choices and avoid overspending.
2. Choose Components:
a. CPU (Central Processing Unit):
Research CPUs based on your needs. Consider factors like core count, clock speed, and multitasking capabilities. Ensure compatibility with your motherboard socket.
b. Motherboard:
Choose a motherboard that complements your CPU. Consider factors such as available PCIe slots, RAM capacity, USB ports, and built-in Wi-Fi if needed.
c. RAM (Random Access Memory):
Select RAM based on your system requirements. Check your motherboard's specifications for supported RAM speed and capacity. Faster RAM can enhance performance in some applications.
d. Storage:
Decide on storage options. Consider a fast SSD for the operating system and frequently used programs, complemented by a larger HDD for mass storage. M.2 NVMe SSDs offer high-speed storage solutions.
e. GPU (Graphics Processing Unit):
For gaming or graphic-intensive tasks, choose a GPU accordingly. Research benchmarks and reviews to find a GPU that fits your performance needs and budget.
f. Power Supply (PSU):
Select a PSU with enough wattage to power your components with some headroom. Ensure it has the necessary connectors for your motherboard and GPU.
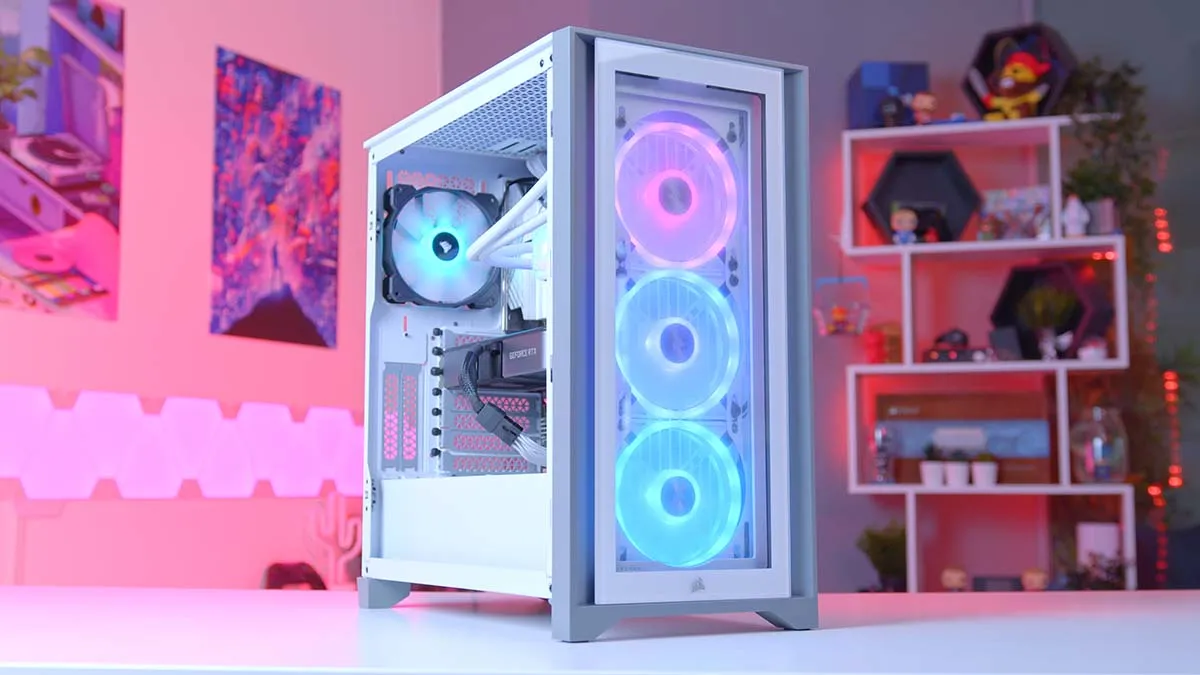
g. Case:
Choose a case that fits your motherboard form factor and accommodates your components. Consider cable management, airflow, and aesthetics.
h. Cooling:
Decide on cooling solutions. Stock CPU coolers are often sufficient, but aftermarket air or liquid coolers can provide better thermal performance, especially if you plan to overclock.
i. Additional Components:
Don't forget peripherals like a keyboard, mouse, and monitor. Ensure they match your preferences and intended use. Also, consider an operating system; Windows, Linux, or others, depending on your needs.
3. Gather Tools:
Equip yourself with the necessary tools, including various screwdrivers, cable ties for cable management, and an anti-static wrist strap to prevent electrostatic discharge.
4. Assemble Outside the Case:
a. CPU and RAM:
Install the CPU and RAM onto the motherboard outside the case. This ensures a basic functionality check before the full build.
b. Connect Power Supply:
Connect the PSU to the motherboard, CPU, and RAM. Power on the system to ensure it boots outside the case. This step helps troubleshoot potential issues.
5. Install Components in the Case:
a. Mount Motherboard:
Place the motherboard into the case and secure it with screws. Ensure proper alignment with the case's standoffs.
b. Install Storage and GPU:
Mount your storage drives and install the GPU into the appropriate PCIe slot. Secure components with screws, and connect power and data cables.
c. Connect Cables:
Connect power and data cables to the motherboard, storage, GPU, and other components. Refer to your motherboard's manual for specific instructions.
d. Cable Management:
Organize and secure cables for good airflow and aesthetics. Neat cable management not only looks good but also improves airflow and makes future upgrades easier.
6. Install Operating System:
a. Boot from Installation Media:
Insert the operating system installation media (USB or DVD) and boot the PC.
b. Follow Installation Prompts:
Follow the on-screen instructions to install the operating system. Create or select partitions on your storage devices as needed.
7. Update Drivers:
Download and install the latest drivers for your motherboard, GPU, and other components from the manufacturers' websites. This ensures optimal performance and compatibility.
8. Test and Troubleshoot:
Power on your PC and test its performance. Check that all components are recognized, and the system is stable. Address any issues that may arise, such as compatibility problems or driver conflicts.
Congratulations! With these detailed steps, you've successfully built your own PC. Enjoy the satisfaction of a customized system that meets your specific needs and preferences.
For a personal guide or tutorial you can hire an expert at gigs unleashed platform today.
